What is possible with new advanced laser cutters and 3D printers in prototyping and product design? How are they benefitting design-focused classrooms, allowing material limitations to be tested, or aiding in iteration turnaround time?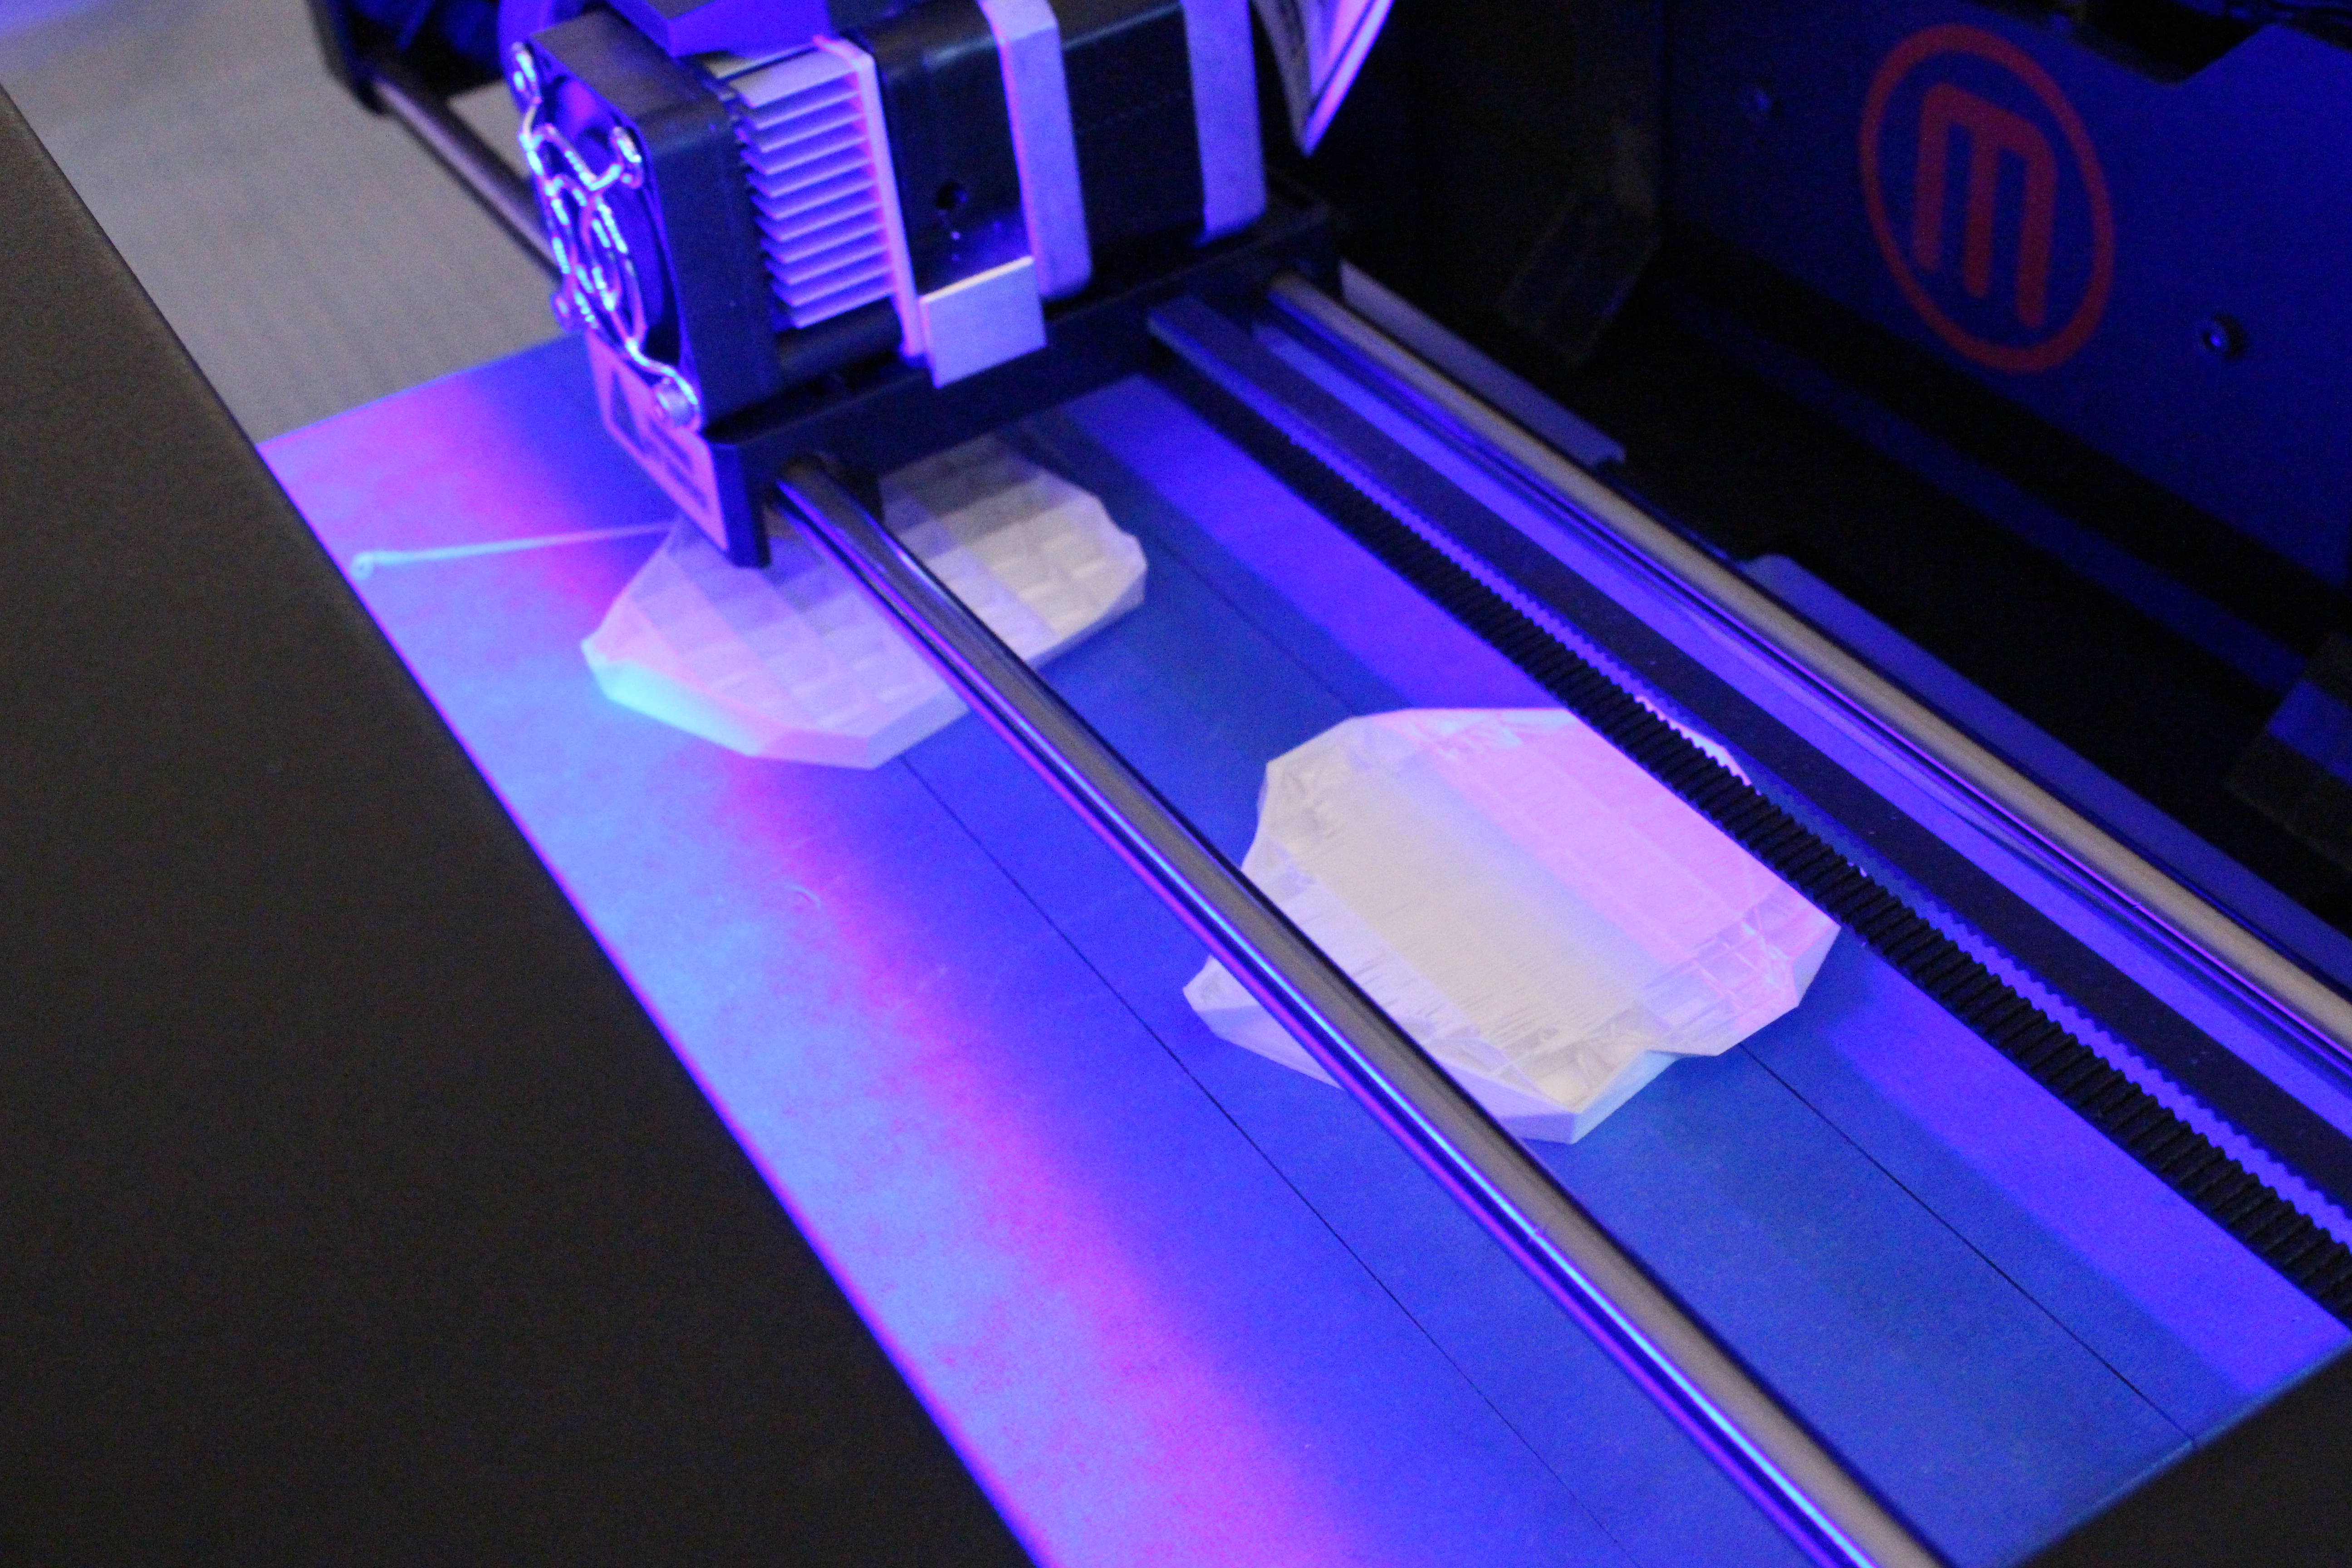
 These new tools of today not only reduce the time required to test prototypes or get to results, they also open the doors to forms, shapes, and structures not easily achievable by standard hand-meets-Exacto methods. The focus is able to switch from capability of the creator to truly discovering proper suitability of products for end users. Below photos and reviews reveal the prototyping process I used to reach a final product for office organization.
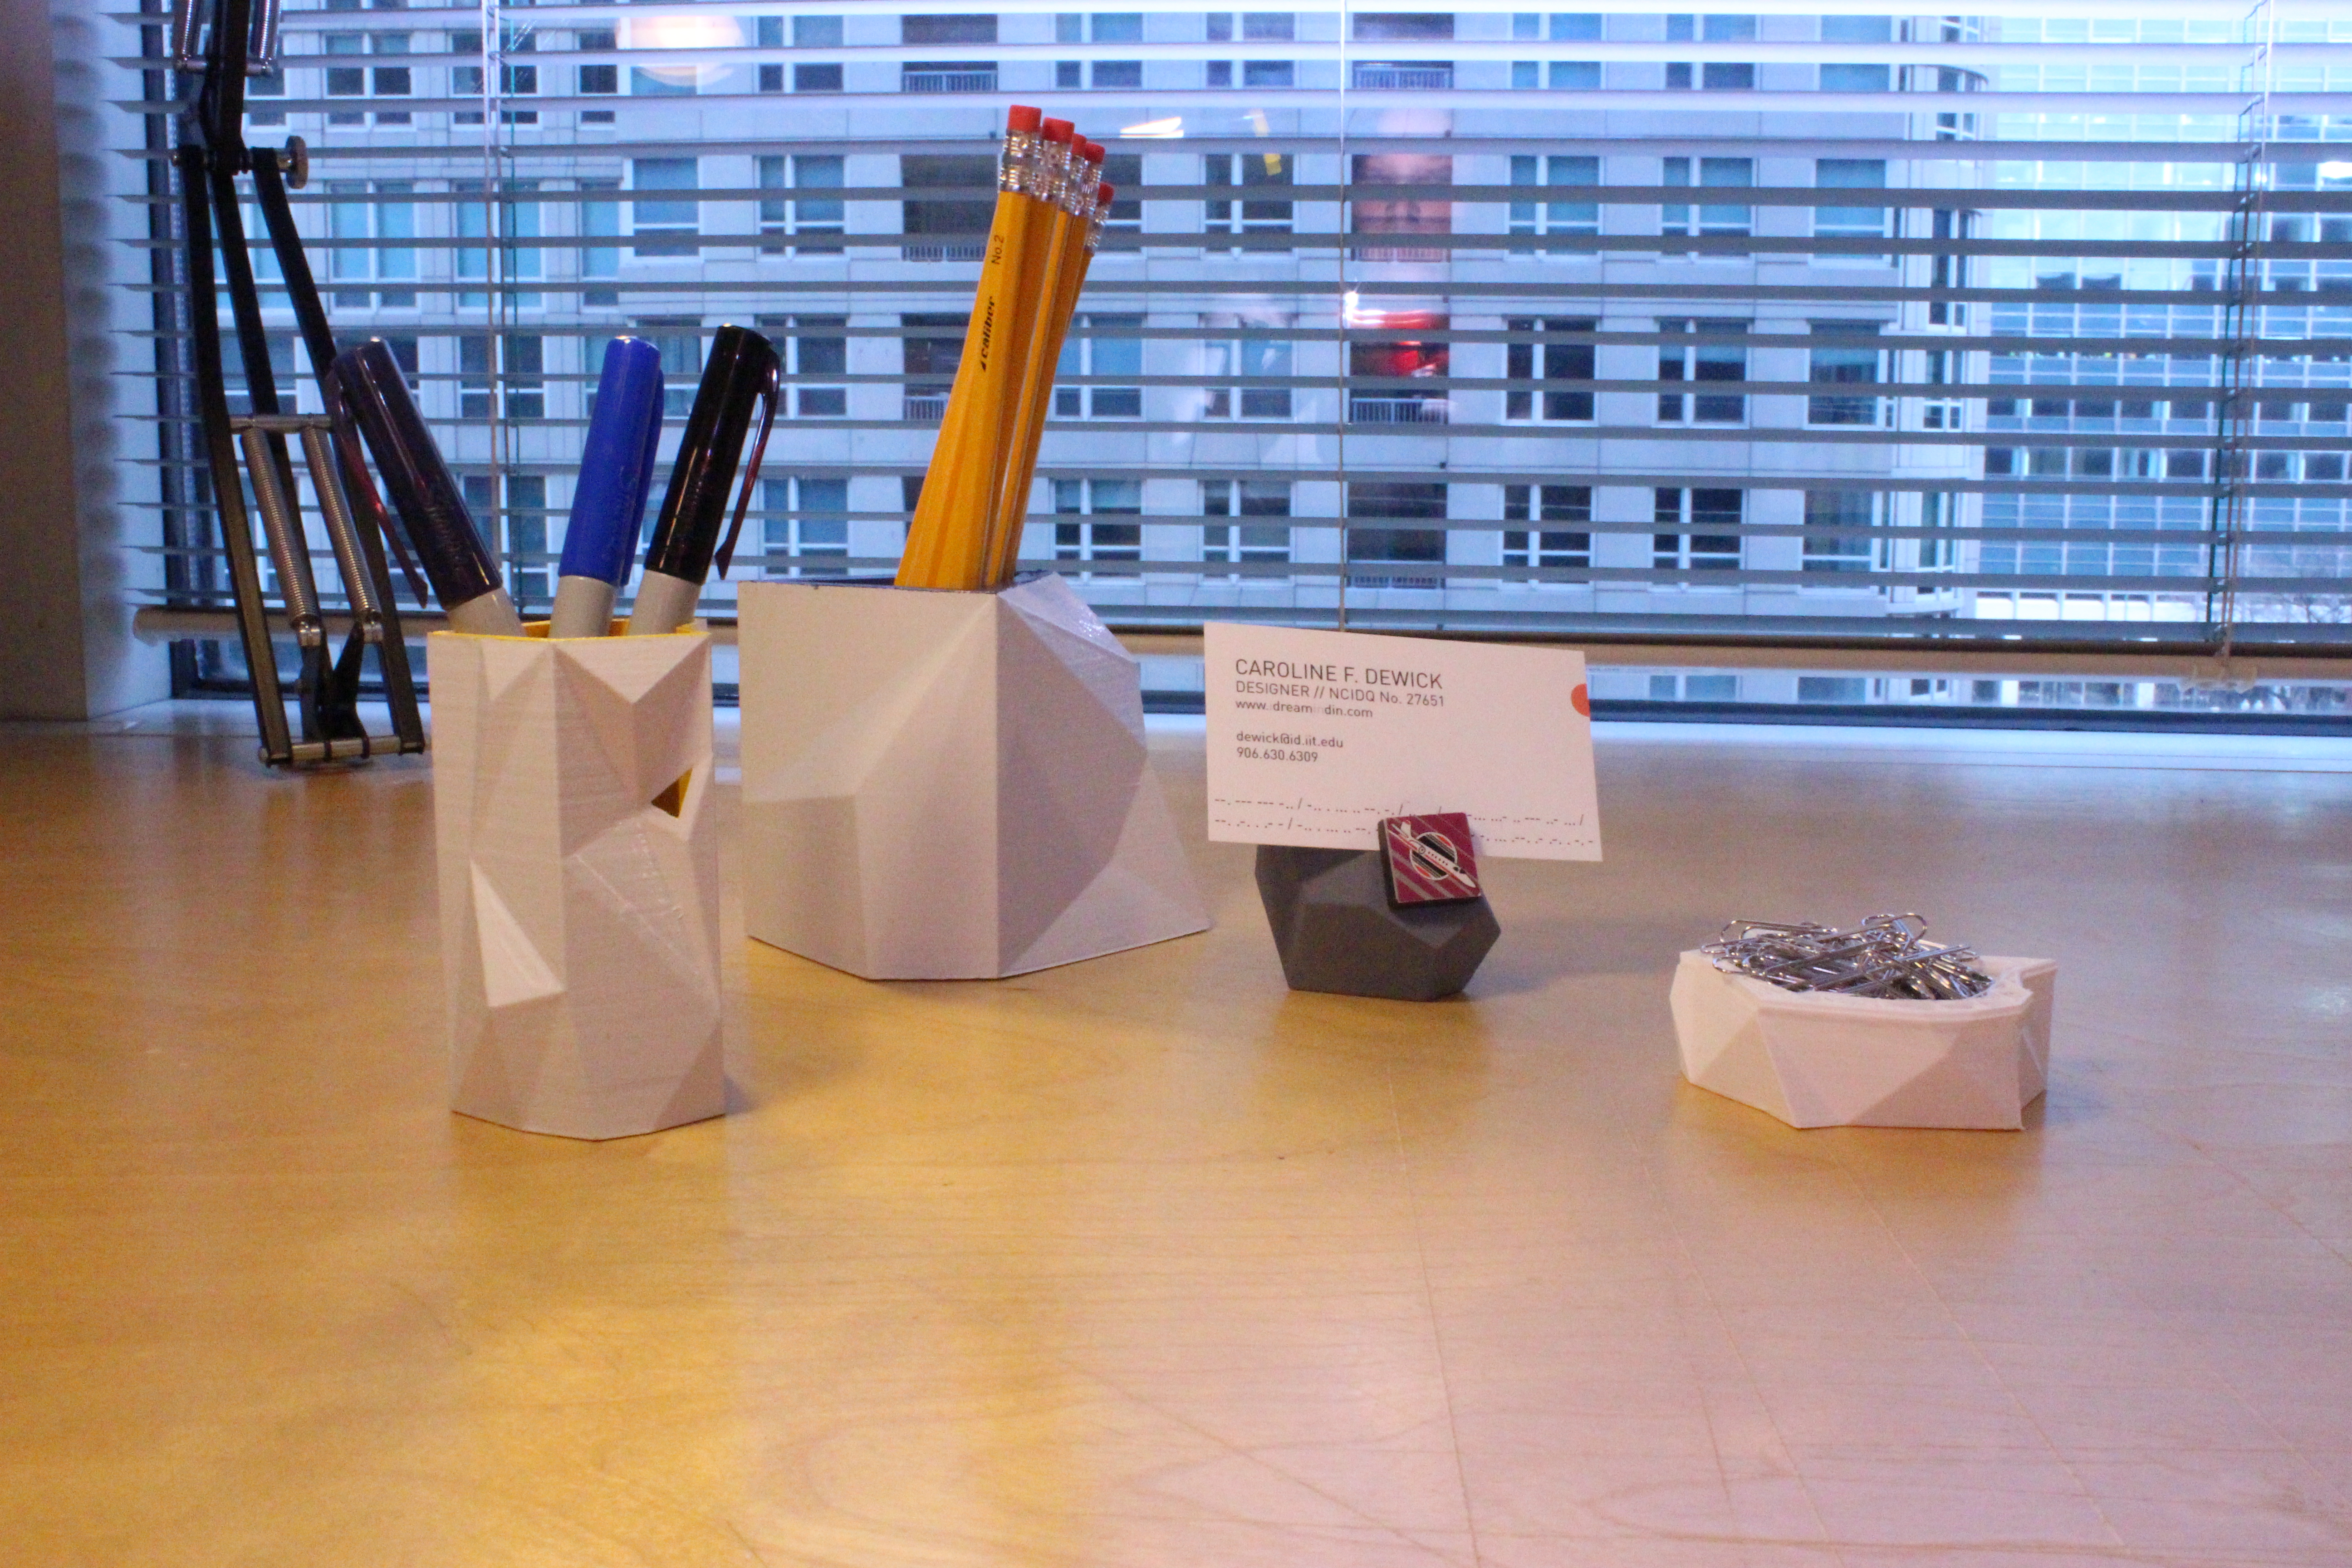
 Laying the groundwork to find answers to the questions about new technology started with seeing what was achievable by hand. The above faceted shapes were my initial exploration of figuring out the time and construction constraints of hand made versus machine made. The two in the background each took 2 hours to complete start to finish, while the laser cut wooden figure in the front took only an hour to glue. I used ready-made templates for the shapes, so modeling time was a non-issue. Size was a direct result of the size of the human hand – the last opening had to accommodate at least a few fingers to fit in order to glue on the last piece.
 The next phase of exploration was moving on to see what the 3D printer could achieve with the same design in mind. The faceted vessels above were modeled with Sketchup and printed out on a MakerBot. Complexity of form was able to increase, and size, shape, and surface pushed the limits of the 3D printer. Though print time was upwards of 45 minutes, the time it took to model the containers was very short and thus allowed for more time to experiment with finishes.
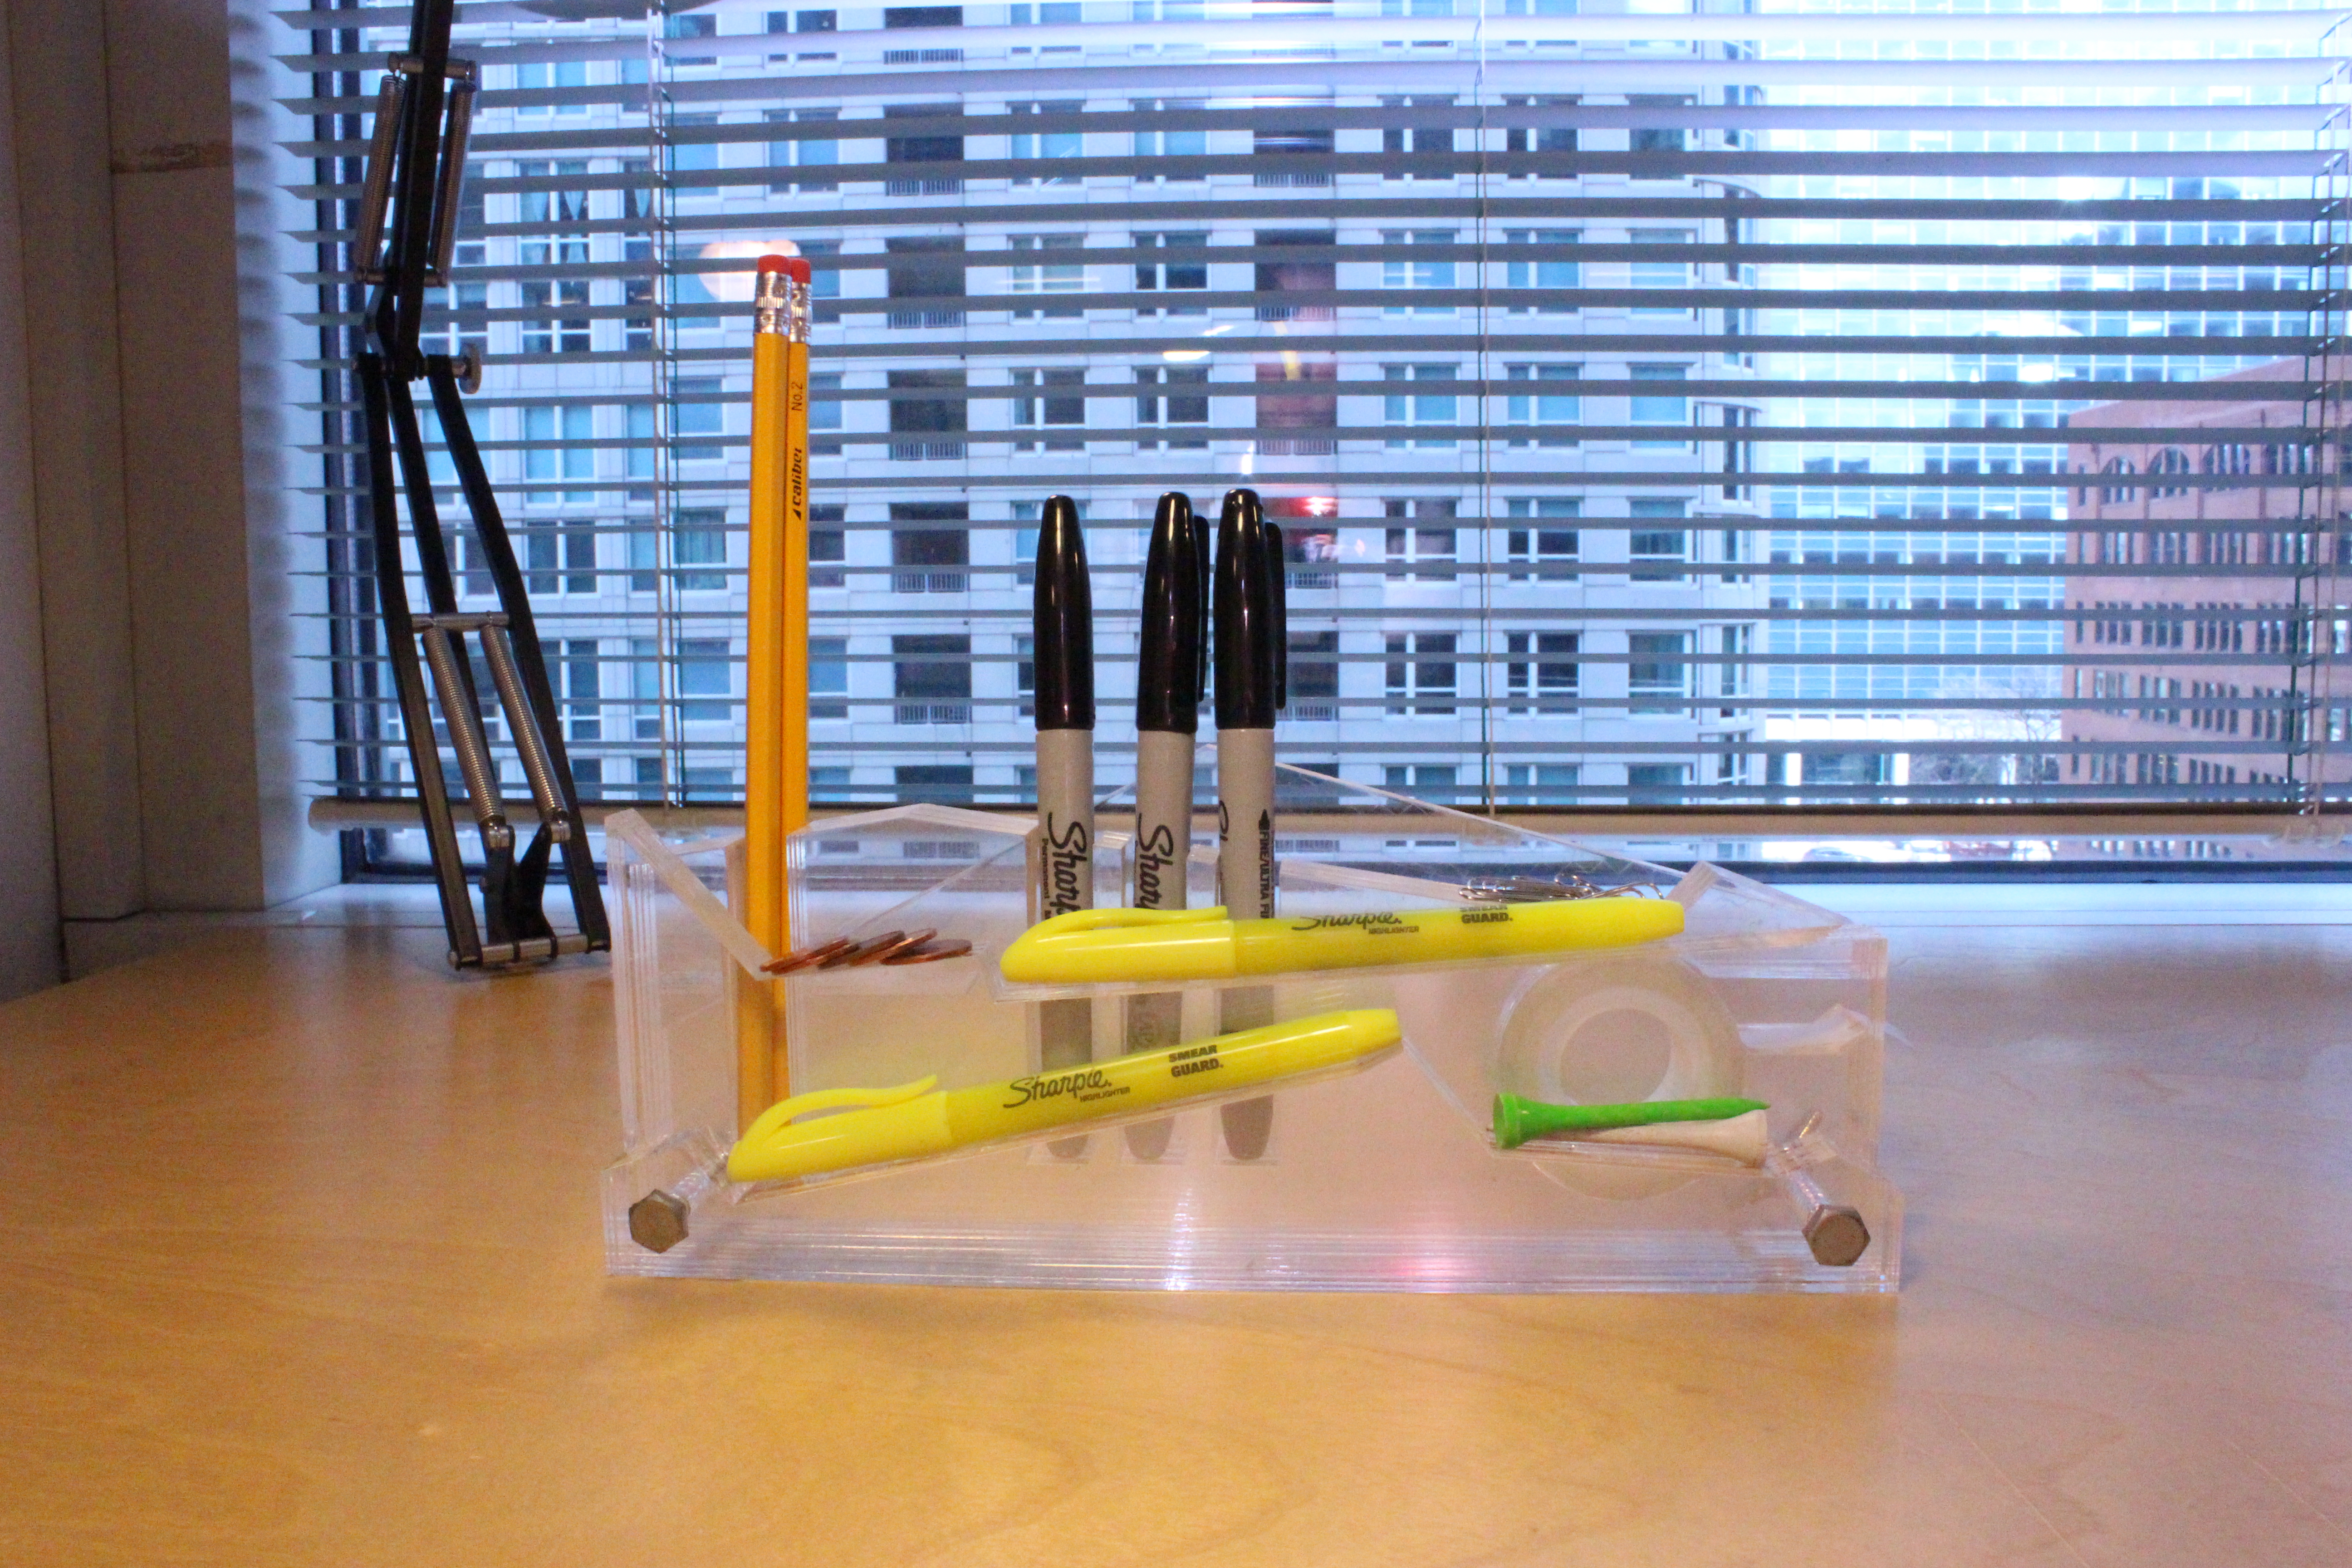 Next, I wanted to explore the capabilities of the laser cutter. I used foamcore to experiment with layering techniques and made the above with 1/4″ clear acrylic. Cut time was about 4 minutes and assembly with screws and wing nuts took about 1 minute. This particular office organization tool was very quick to make, but due to the rigidity of the acrylic and limitations of the design, doesn’t serve as much use as the 3D printed vessels – even though it houses different objects (like a spool of tape) that the 3D vessels can’t. This pushed me towards my next exploration with a more flexible material that could still be cut and assembled quickly with the laser cutter.
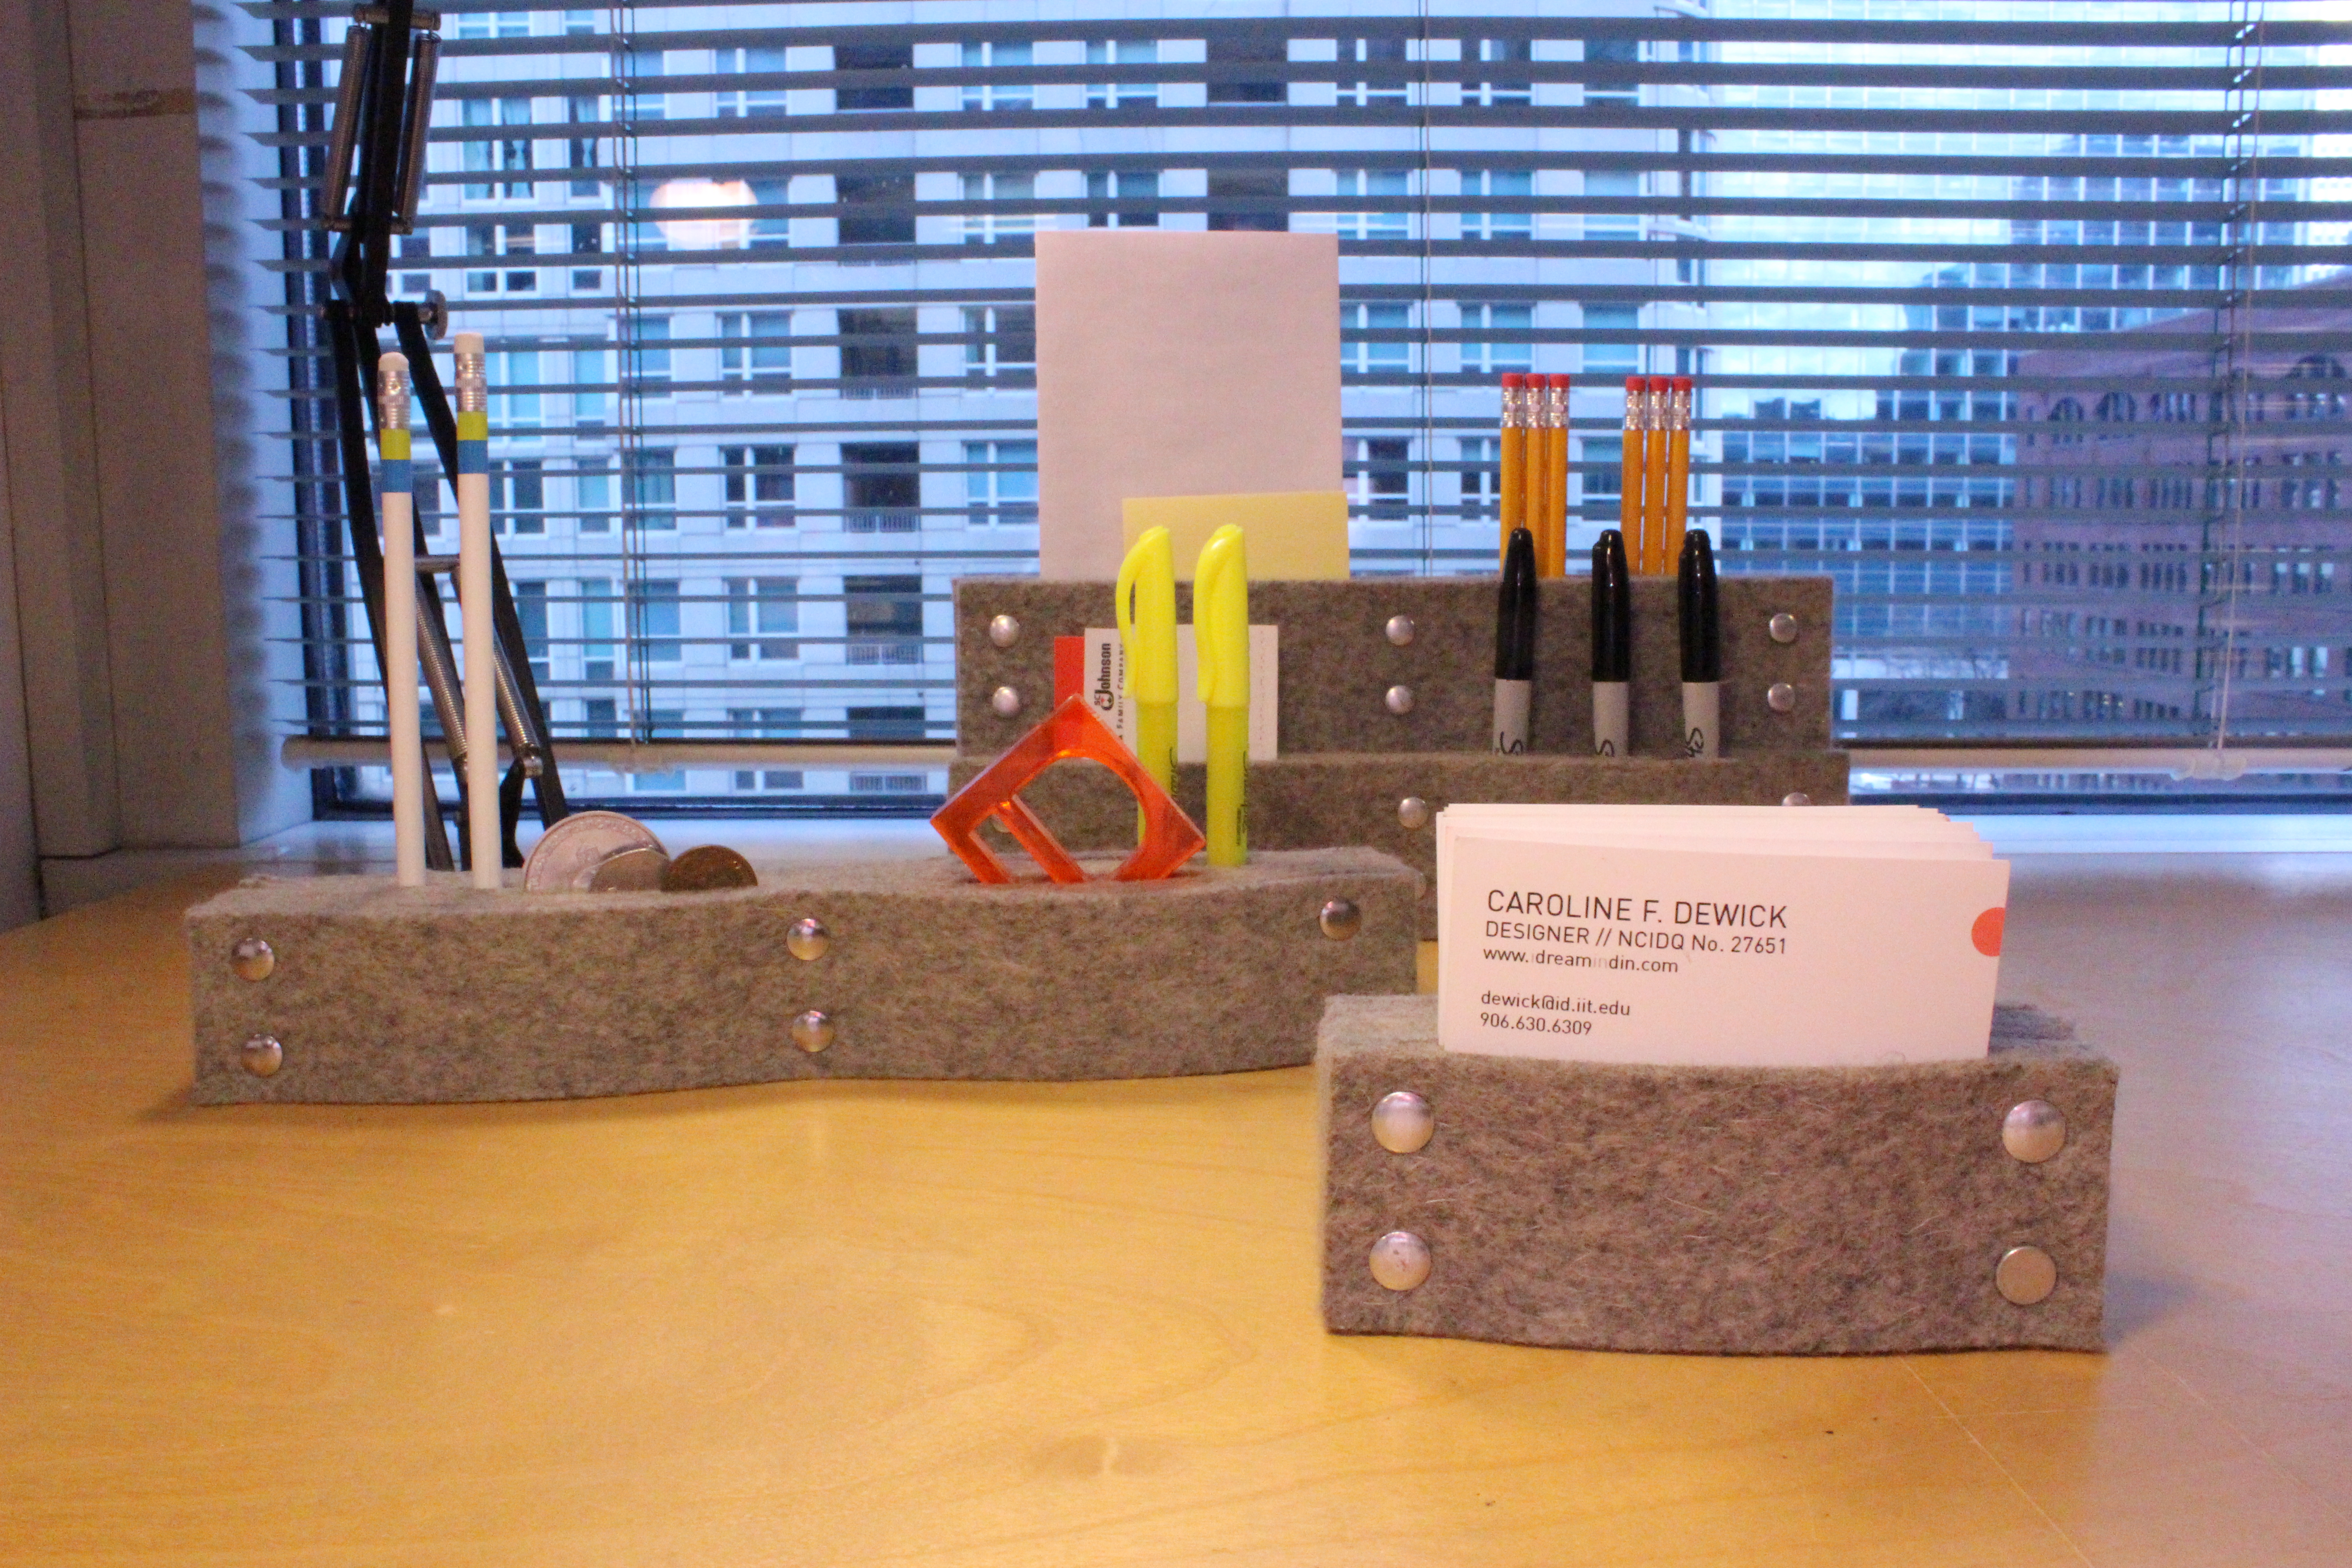
 I used 1/8″ industrial firm felt to create a simplified version of the acrylic piece. Due to it’s flexibility and tensile strength, these shapes were able to accommodate many more tools of different sizes and shapes. This is the point of the project where focus started to switch from what the machines were capable of to what would best serve end users. The only downside of using a natural protein fiber like felt though, is the odor it gives off upon burning. This shouldn’t deter designers from experimenting with it though, because a simple cold water wash with dish soap and scrub brush used on singed edges eliminates the smell and only takes 30 minutes (plus overnight dry time). Though the time required may seem lengthy, the ability to iterate quickly with the felt and laser cutter was worth it. It allowed for me to experiment with different shapes and construction methods. The below pinch-pouches started as simple capital I forms which I riveted together to make boxes.
 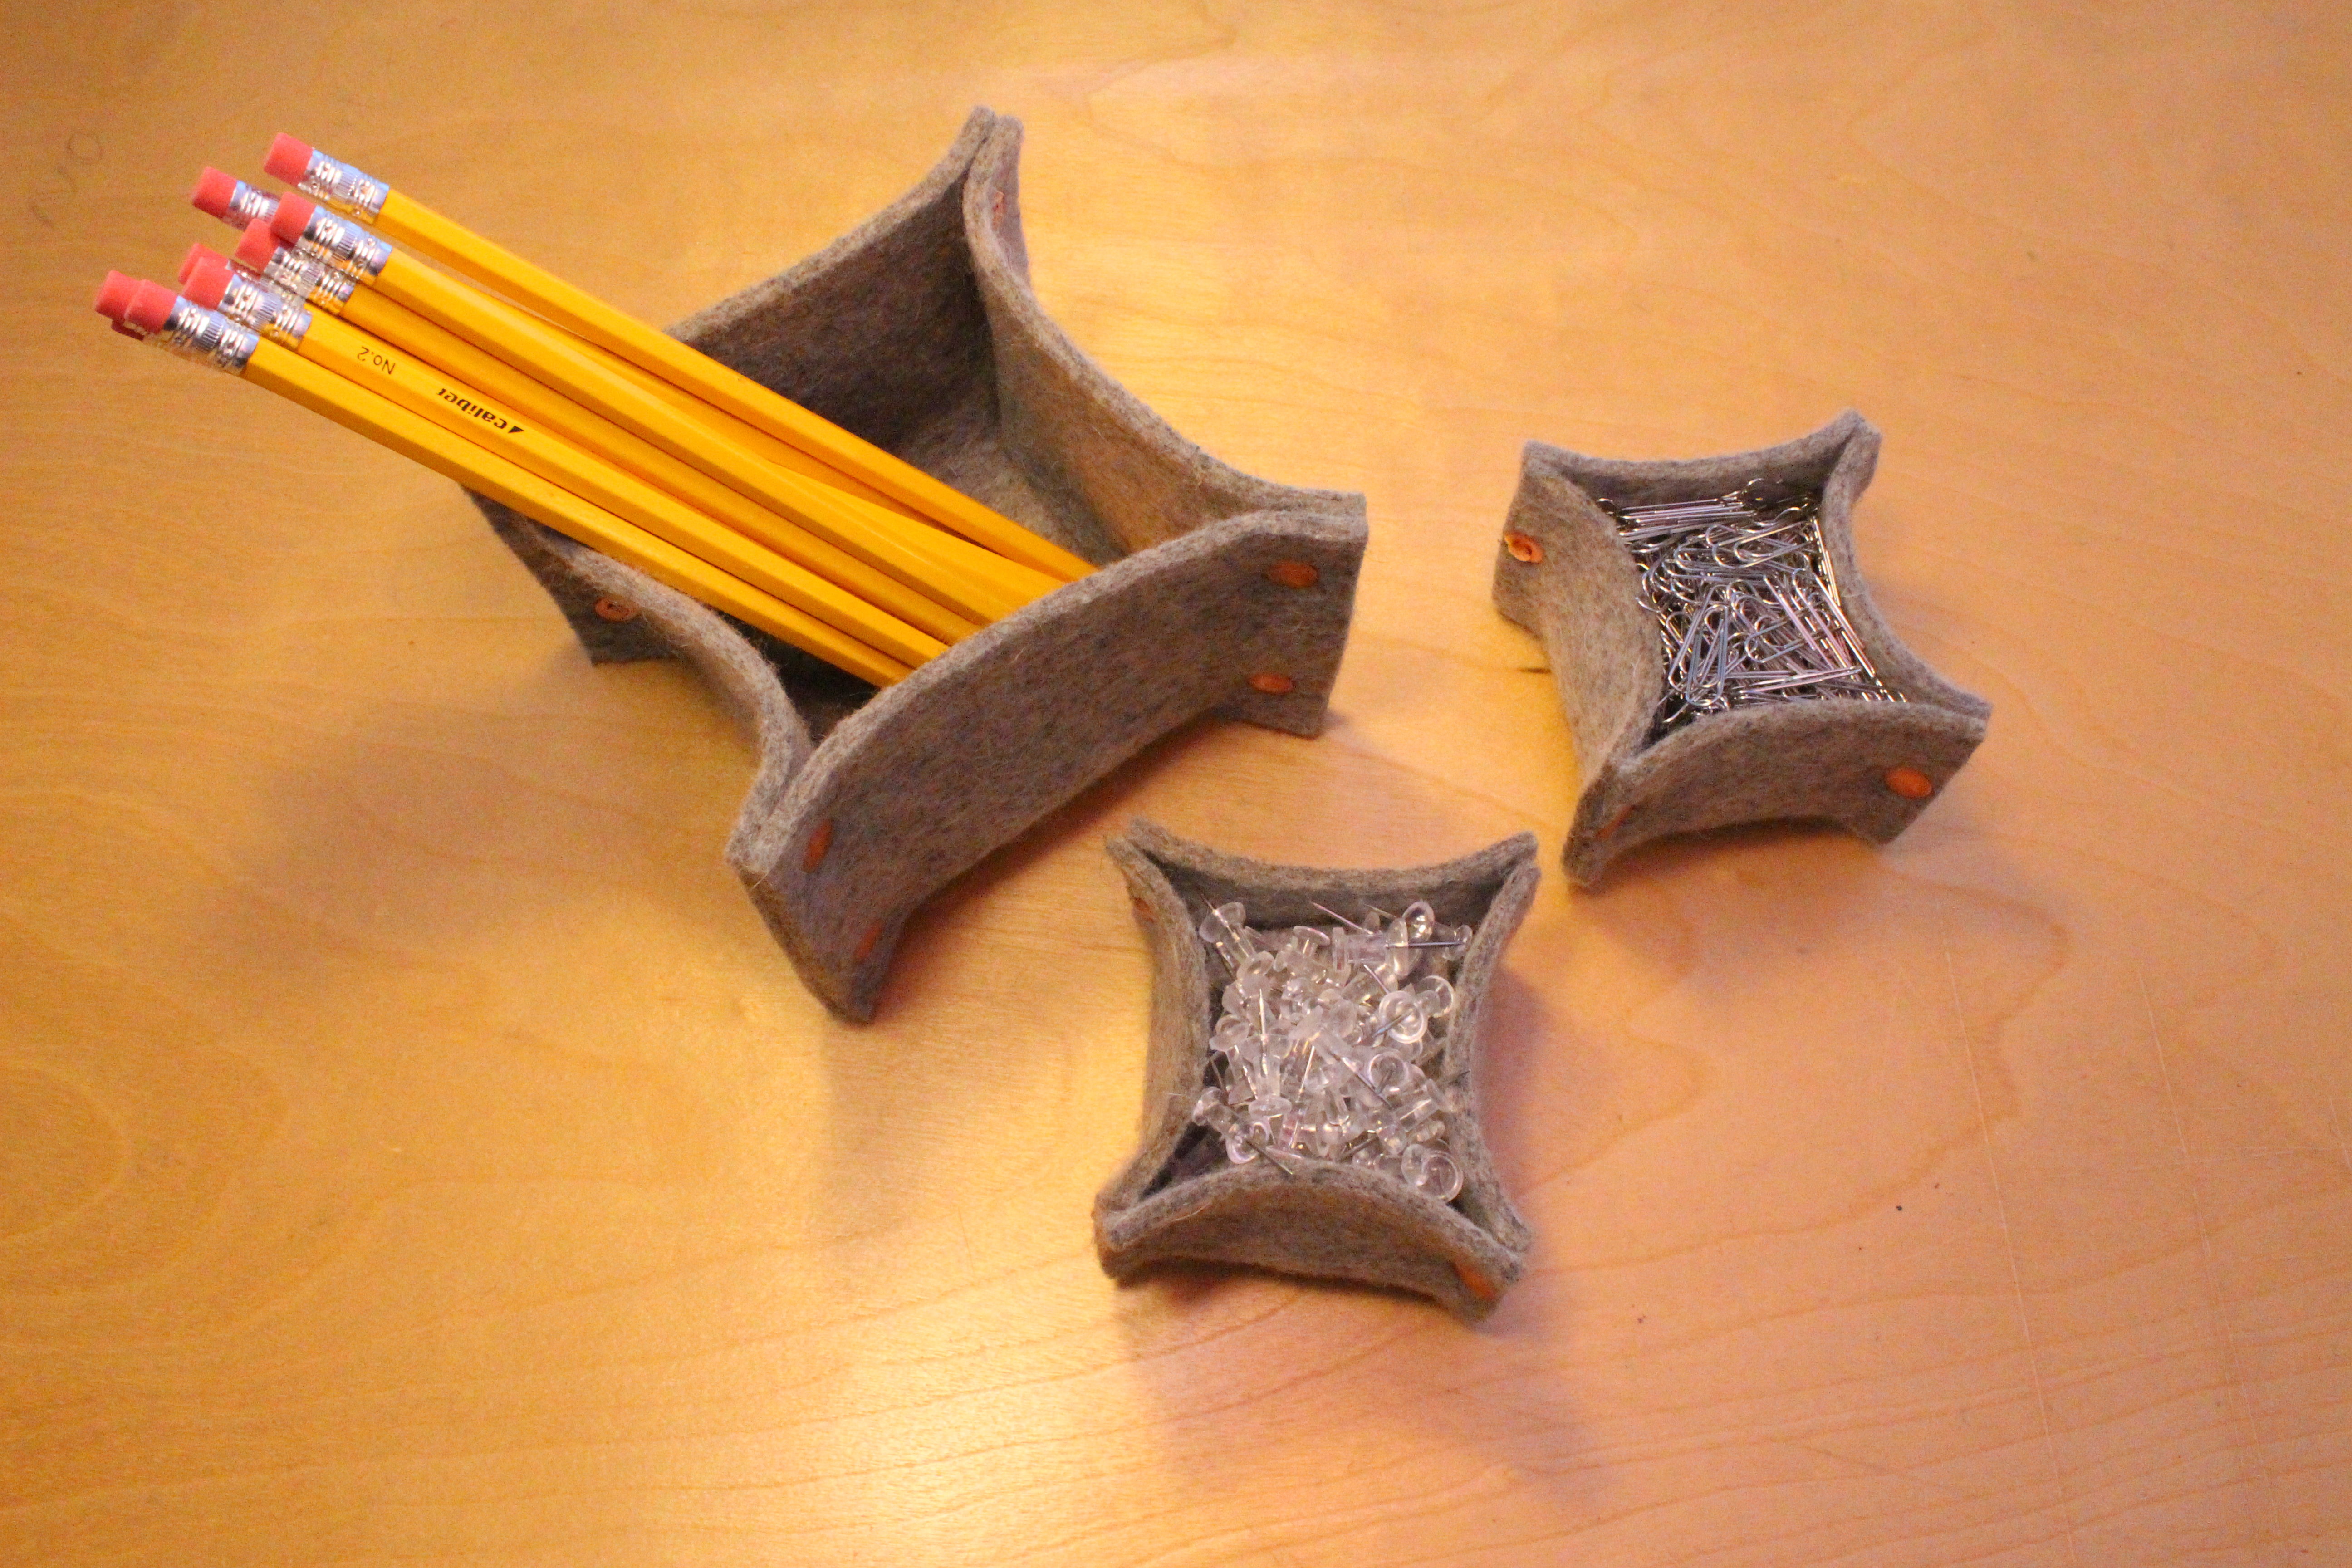 These last two felt tools, the layered objects and pinch-pouches, were not only a result of learning and experimenting with new technology, but they were also the result of truly getting to the heart of my design problem: how might we change the landscape of the typical office space with intentional, functional, and beautiful office organization tools? These felt objects answered my design criteria and also successfully served the end user – both of which may not have been possible without going through this enlightening process of learning new prototyping tools.
- Reblog
-
Subscribe
Subscribed
Already have a WordPress.com account? Log in now.
